Atera Free Trial Guide: A Step-by-Step Walkthrough of Agent Installation


To fully take advantage of Atera’s RMM, patch management, ticketing, and Agentic AI features during its free trial, it’s important to set it up correctly.
If you want to fully understand Atera’s onboarding process, how to set up its agent, and what to look for during the free trial, this article is for you. Let’s dive in!
The Onboarding Flow
To begin onboarding, head to Atera’s sign-up page and create your free trial account.
 and create your free trial account.
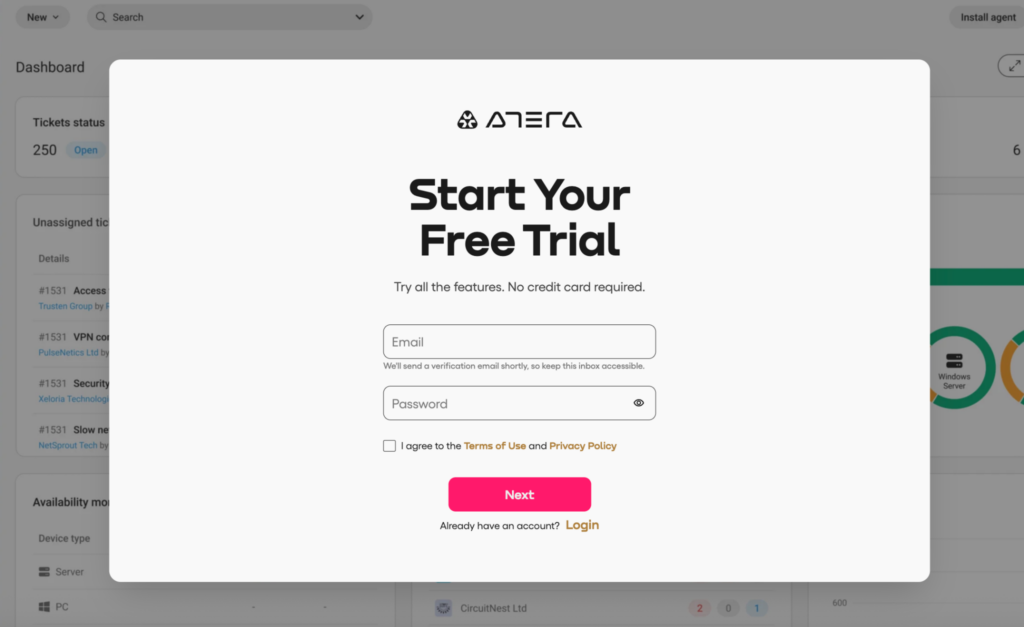
During sign-up, Atera asks for your email, password, full name, and phone number. No credit card details are required for the free trial.
You’re also asked if you’re interested in Robin by Atera, which is its autonomous IT agent for enterprises. At the moment, Robin isn’t available in the trial, but you can submit a demo request with Atera’s team to try it out.
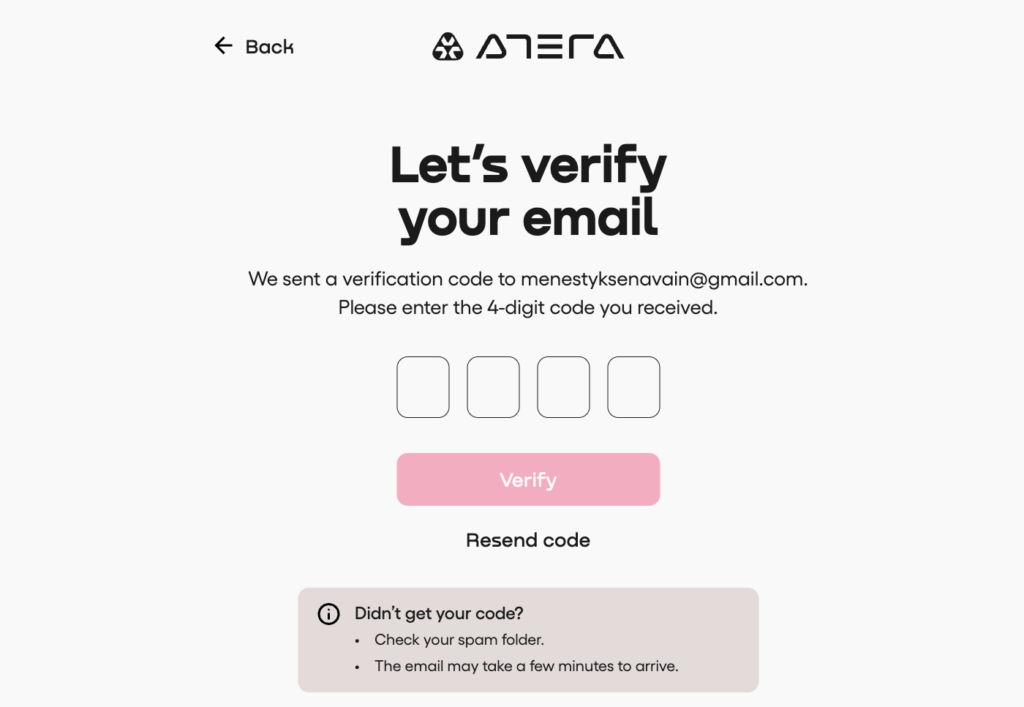
A verification code is sent to your email, which you need to enter to access the dashboard.
You’ll now have access to Atera’s admin dashboard.
The first thing that will appear is a pop-up guiding you through the 4-step onboarding process, which involves:
- Setting up your account (done at this point)
- Installing an agent
- Setting up thresholds and alerts
- Configuring patch management
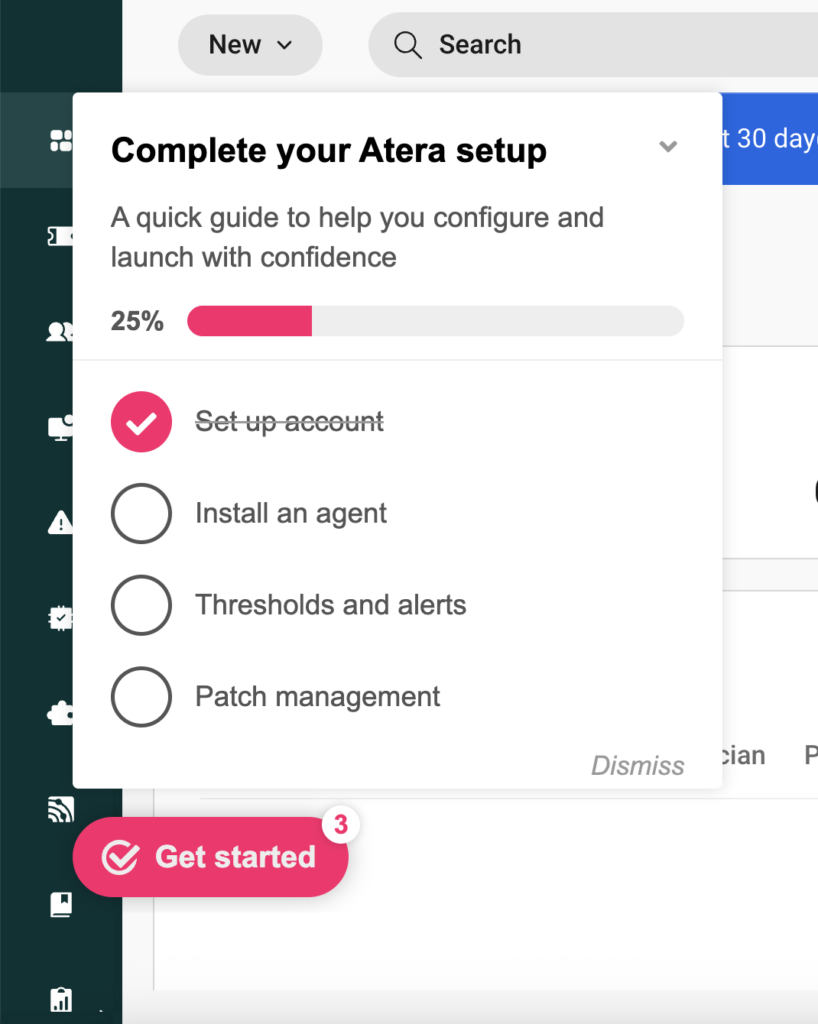
All of these are important steps for using the platform. But for the remote monitoring and management to work, the most critical step is installing Atera’s agent, which we’ll explain in the next section.
The Agent Installation: Step-by-Step
The way RMM software, like Atera, works is through agents, which are installed on your organization’s devices. Agents monitor devices and pull key performance data, which is used to monitor device health.
Below is a step-by-step process for installing Atera’s agent.
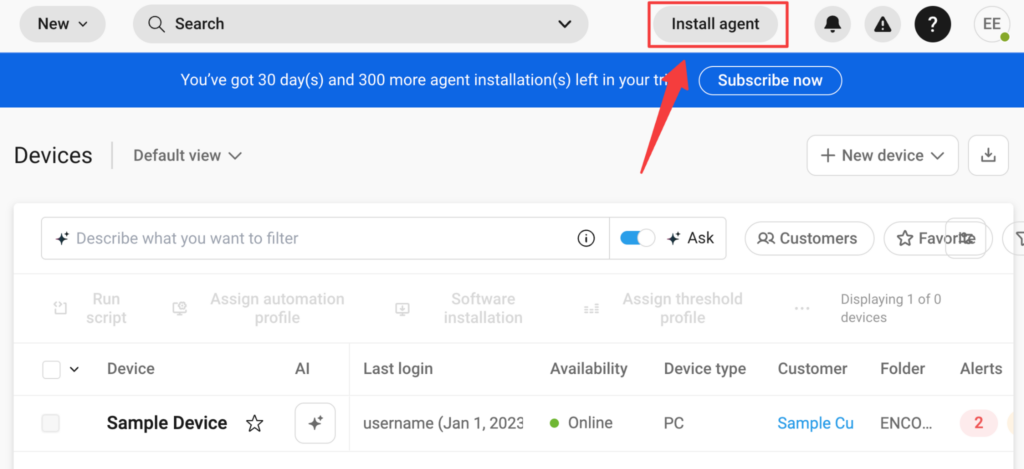
To begin, click on the “Install agent” button in the dashboard’s top right corner or on the onboarding pop-up.
You’ll be directed to the 3-step Agent installation process, which involves:
- Selecting your OS (Windows, Mac, or Linux)
- Assigning your agent
- Installing the agent
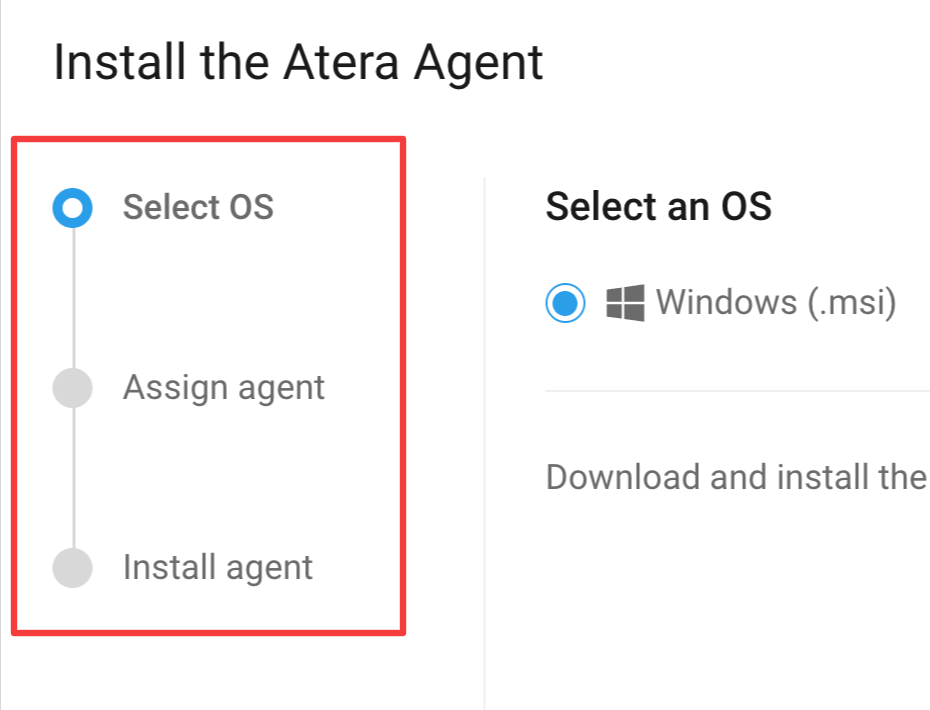
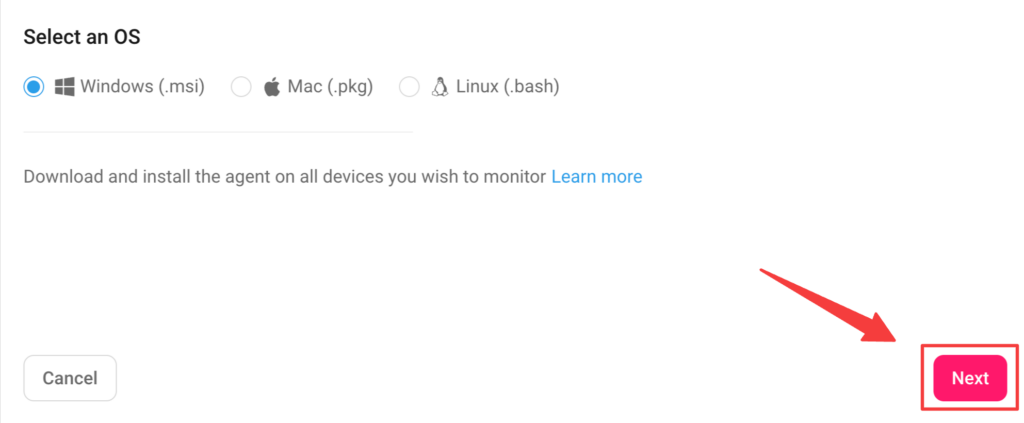
1. Select your OS
Depending on the operating system (OS) you want to monitor, select Windows, Mac, or Linux.
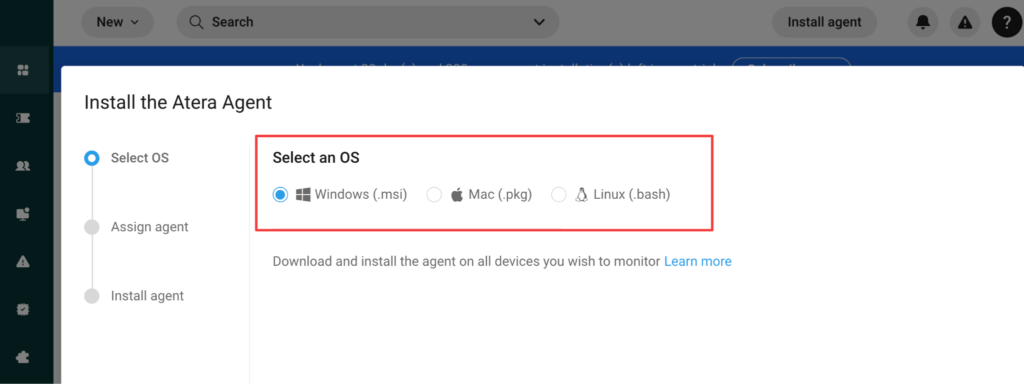
If you have a multi-OS device fleet, begin with your primary OS. Once done, repeat the installation process for the additional OS.
Click on “Next” to continue.
2. Assign your agent
The next step involves assigning the agent to the right IT environment. If you’re part of an IT department, simply leave the “Customer” tab as “Unassigned.”
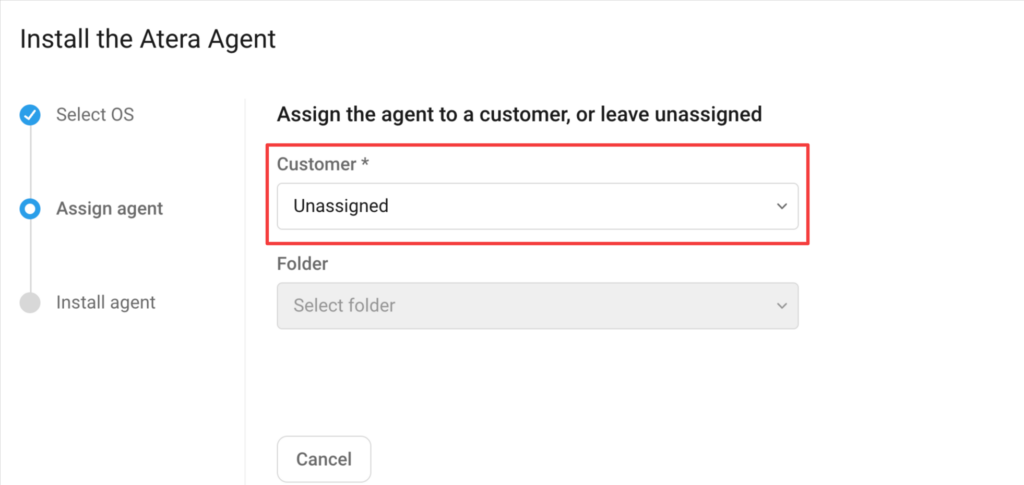
If you operate an MSP, select the right customer profile from the tab.
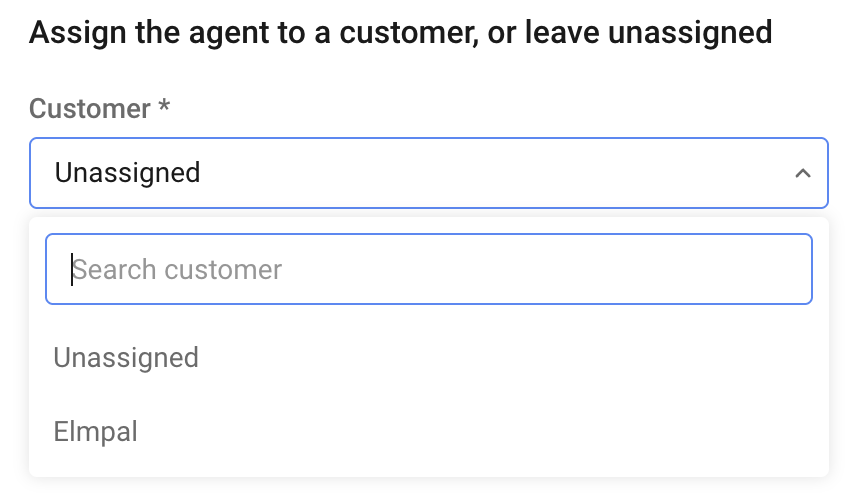
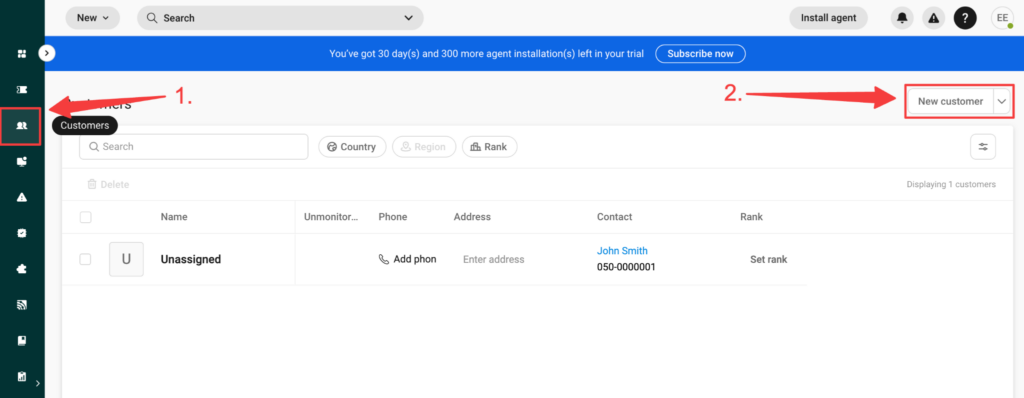
If you manage multiple IT environments and haven’t created your customer profiles yet, you can do that from the “Customers” page within Atera.
Once you have the right customer selected, click on “Next” to continue.
3. Install the agent
The installation options differ slightly depending on your OS, so I’ll now explain each one.
Windows Agent installation
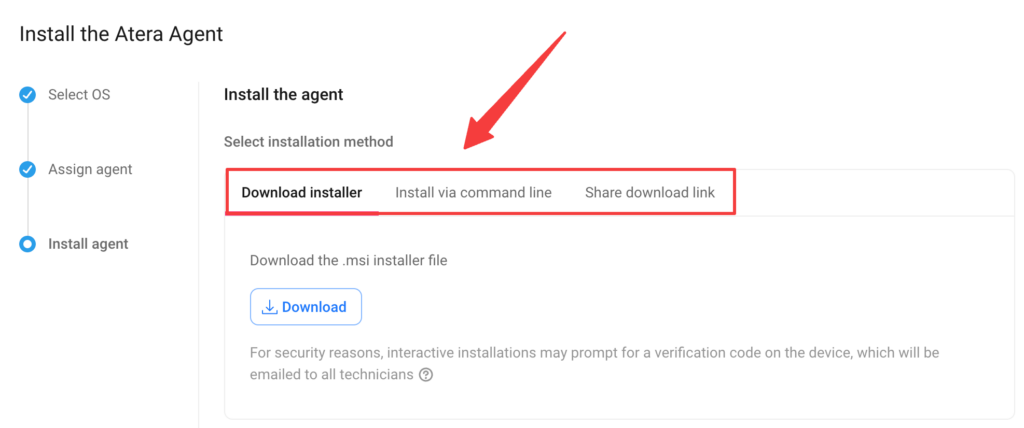
If you selected Windows as your OS, you have three options for installing the agent:
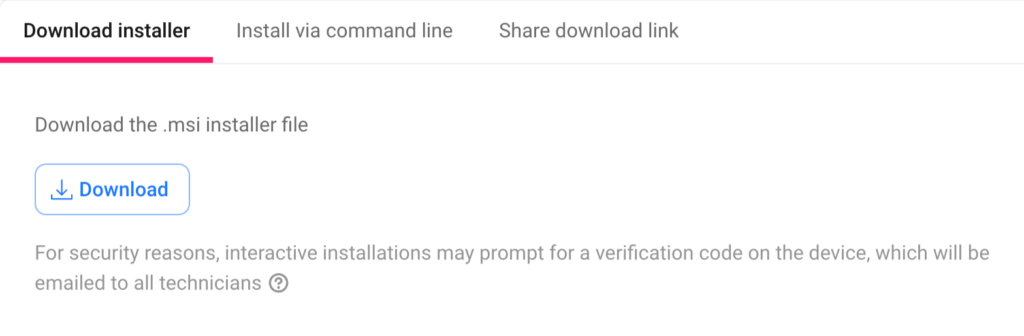
a) Download the installer
To use this method, open the .msi installer file and follow the onscreen instructions.
b) Install via command line
To install via the command line, click on “Copy command.”
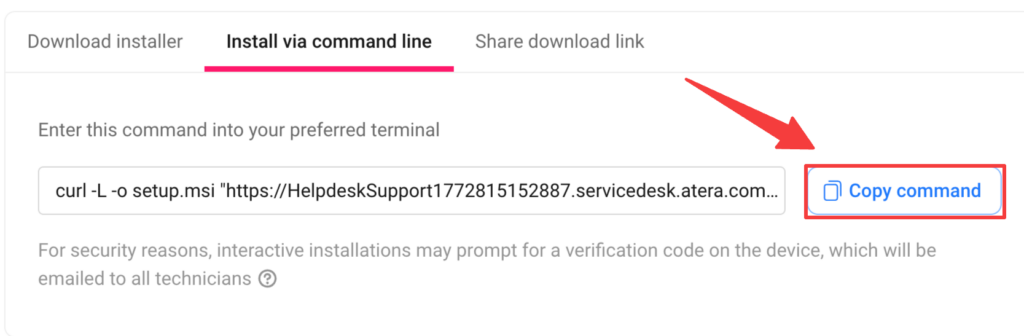
Continue by opening the terminal with elevated administrator privileges. Enter the copied command and hit Enter to finish the installation.
c) Share the download link
The third option is to share a download link with the end-user, which they can use to install the agent themselves.

One thing to note is that the agent installer link doesn't work by email (you need to use file sharing tools, like SharePoint, or embed it in your website).
Mac Agent installation
For Mac, there are two ways to install the agent:
a) Via command line
b) Via download installer (.pkg file)
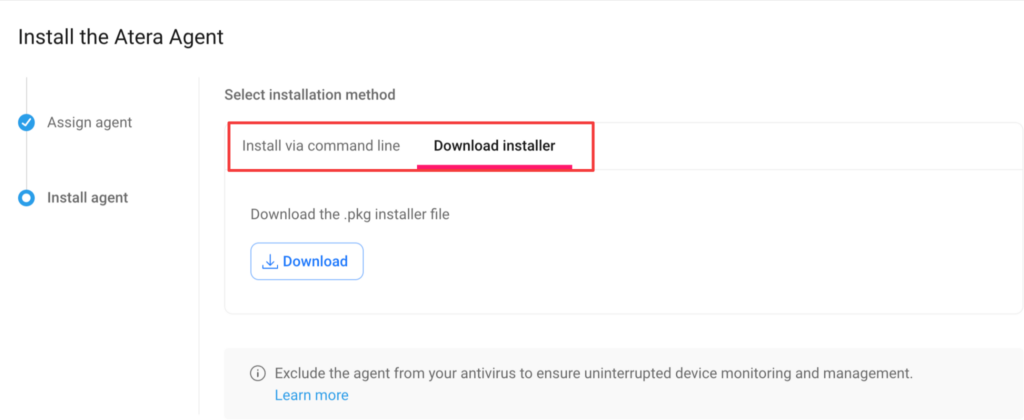
The process is the same as for the Windows agent, with the same installation methods.
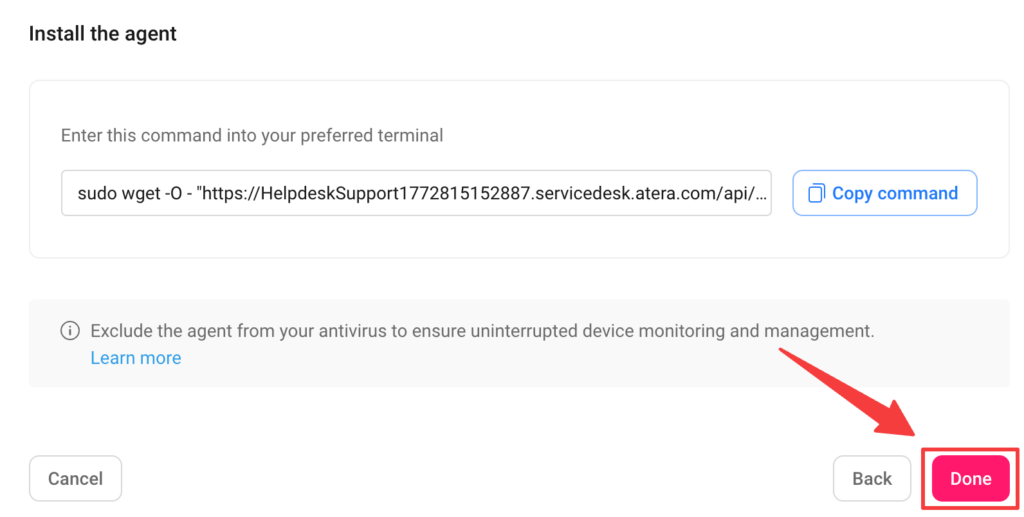
Linux Agent installation
If you have Linux devices, you have one option for installing the agent: installing it with a command line.
Click on “Copy command” and paste it into your preferred terminal:

Once done, click on the “Done” button to finish.
What to Look for After Installation
Once the agents are installed, I recommend taking these extra steps to take full advantage of Atera’s free trial:
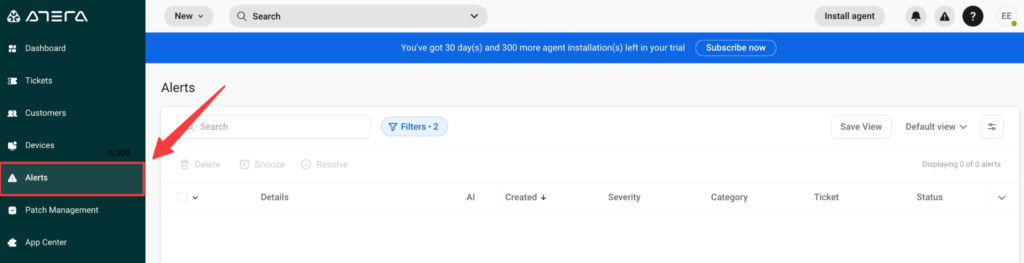
1. Threshold and alerts
Atera’s Threshold profiles control which alerts you get about your devices.
When set up right, they help to keep your devices up and running at all times, while simultaneously reducing alert noise.
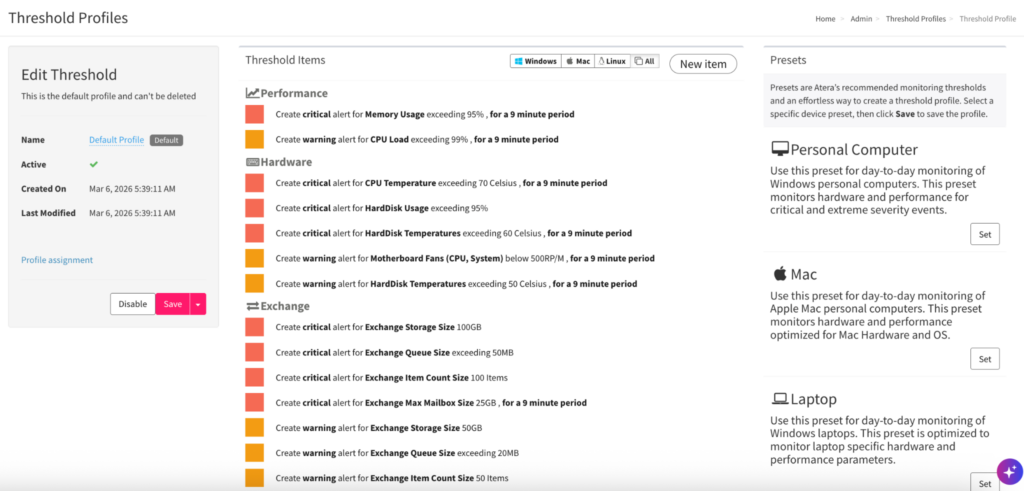
Threshold profiles can be customized by:
a) Parameters (e.g., memory usage or CPU load)
b) Alert types (Information, warning, critical)
Alternatively, you can simply select one of the threshold presets. Atera offers “Personal Computer,” “Mac,” “Laptop,” “Linux,” and “Server” threshold templates.
Once a threshold is exceeded, an alert gets triggered, which displays on the “Alerts” page within the dashboard.
2. Patch management
Atera’s patch management tool makes sure all your Windows, Mac, and Linux systems are up-to-date.
From the “Patch management” page, you can monitor the patch status and get an overview of devices missing critical patches.
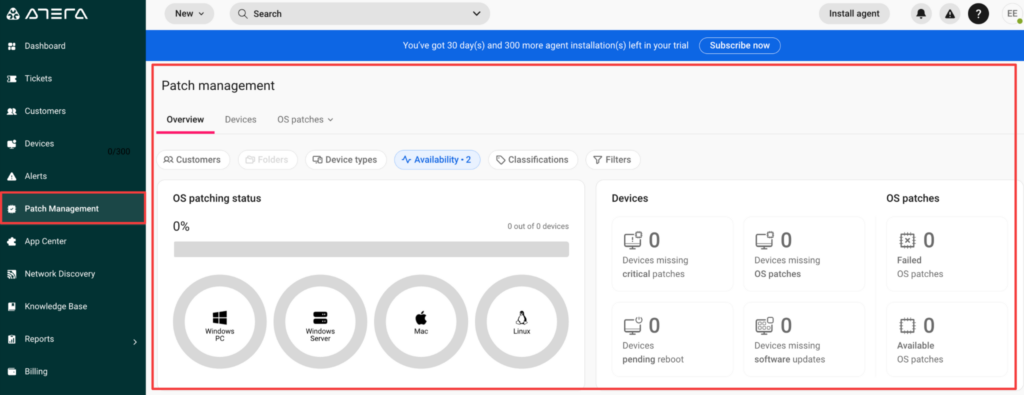
Each device has an automation profile assigned by default, and OS and third-party app updates are applied automatically.
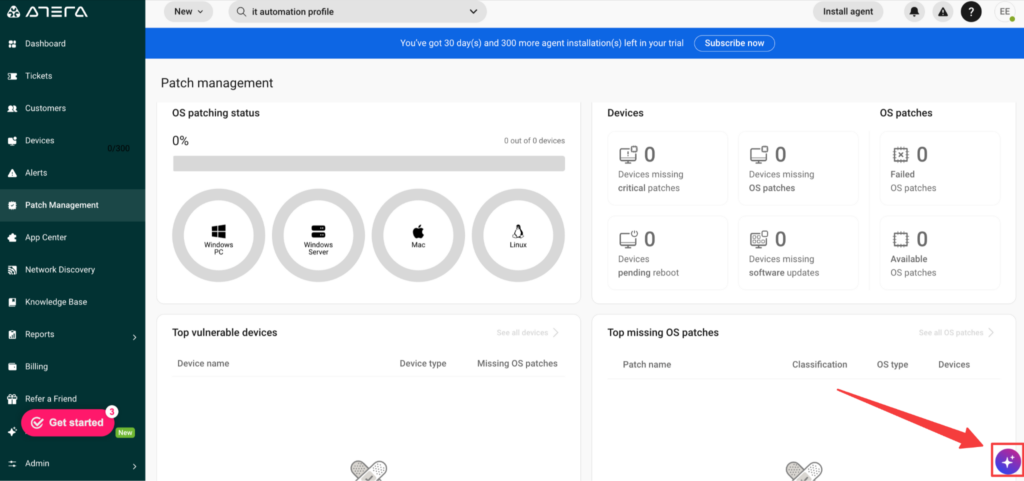
3. AI agents
Atera’s AI Copilot is available to try during the free trial period, and you can access it from the bottom-right corner of the dashboard.
From here, you can ask AI Copilot any questions about your IT environment or instruct it to perform tasks on your behalf.
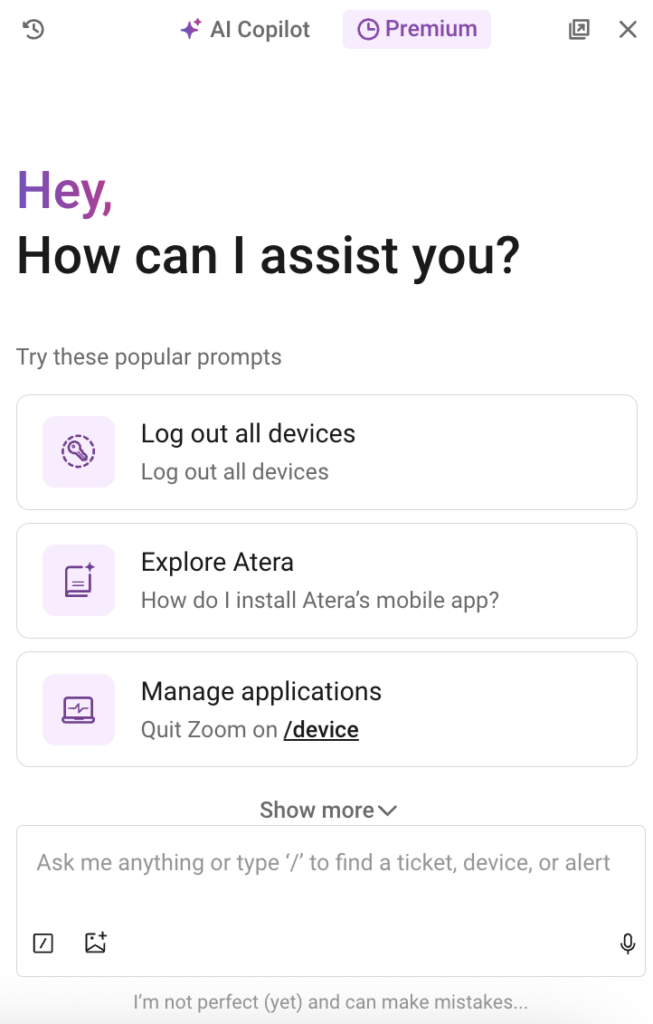
In addition to the chat function, AI Copilot’s capabilities expand across the entire platform.
You can try Copilot within Atera’s ticketing, knowledge management, reports, and more.
Trial Limitations to Keep in Mind
With Atera’s 30-day free trial, you get access to nearly all the same features as with the paid plans, with a few limitations to keep in mind.
The main one is that there’s a limitation of “300 agent installations” in the free trial.
After you subscribe to Atera, the 300-device limitation lifts, and you can install unlimited agents with each plan.
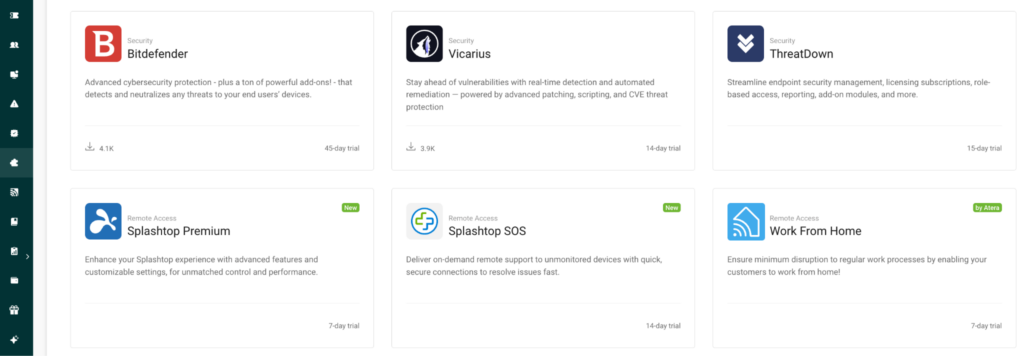
From the Integrations page within the dashboard, you can also try out Atera’s integrations, with free trials for most of them.
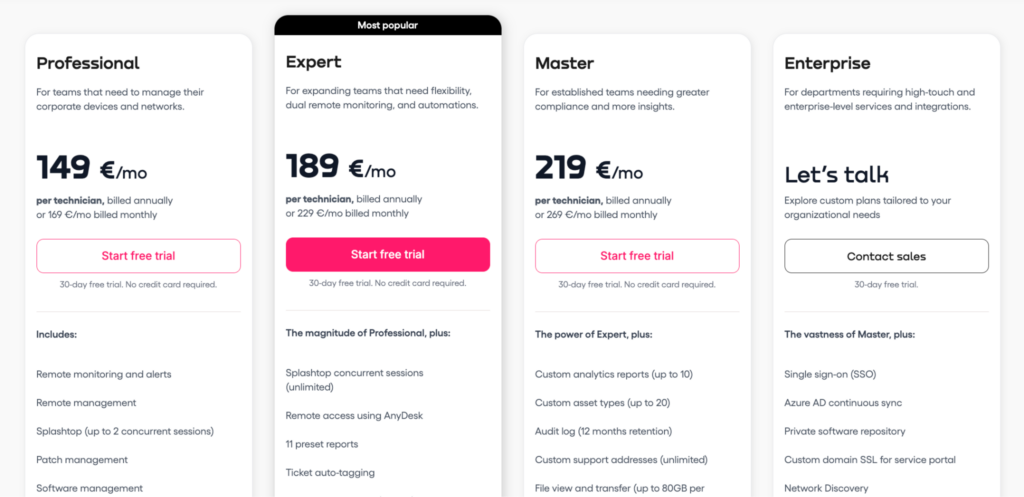
For MSPs, the cheapest plan, “Pro” ($129/month), involves Windows device management. If you also want to manage Mac and Linux devices, you’ll need to opt for the “Growth” plan ($179/month) after your free trial.

For IT departments, Windows, Mac, and Linux support is available on all plans, starting from the cheapest “Professional” plan ($149/month).
There are also a few add-ons you can access during your free trial that cost extra after the trial ends.
These involve Atera’s Network Discovery and one of its AI agents, AI Copilot.
If you’re part of an enterprise and want to try Atera’s Robin during your free trial, you can get in touch with Atera's sales team to get a demo.